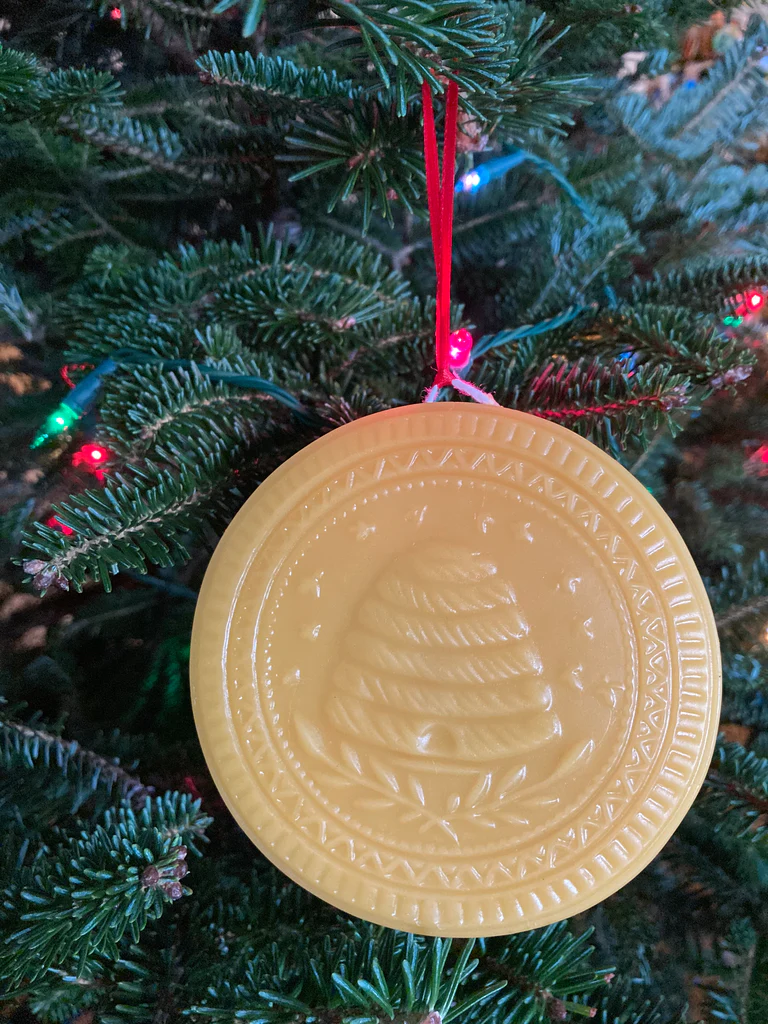
Molded Beeswax Ornaments
Items Needed:
- 1lb. Beeswax
- double boiler designed for wax melting (preferably stainless steel)
- Thermometer (Wax or candy)
- molds- shaped cupcake pans, candy or chocolate molds, ornament molds, soap molds, or silicone baking molds
- attractive string for hanging the ornaments
Directions:
- Melt your wax using a double boiler (a small saucepan containing the beeswax, sitting inside a larger pan of water) Melting beeswax over direct heat is very dangerous, as hot beeswax is flammable and can ignite. Use a thermometer to monitor the temperature of your wax. Stainless steel pans are recommended because copper, brass, and iron can change the color of the wax making it look dull.
- When the wax reaches 160*F you may pour it into the molds. Pouring the wax at a temperature hotter than 160*F can ruin the molds, so be certain to monitor the temperature with the thermometer.
- Cut your string to the appropriate length for hanging the ornament.
- As the wax is starting to cool and you notice it firming at the edges, insert the two open ends of the string into the wax, holding it in place as the wax hardens Be careful not to let the string fall towards the front of the mold where it will show through the front of the ornament.
- After 3 hours your wax should be cool enough to remove from the mold. To make it easier to remove from the old, place the mold in the freezer for several minutes after the wax has fully cooled, which causes the beeswax to shrink so it can be released more easily.
Over time, beeswax will develop a “bloom”, which is a whiteish coating over the outside of the wax.. this is completely natural and harmless. Simply warm the wax with a hair dryer or rub with a dry cloth to restore the original luster.